Sprouting of grains and their usage in bread making.
In Asian sprouted grains, seeds and beans were common for more than 3000 years and eaten raw. During the sprouting process, biochemical processes have activated that transform into essential constituents. The total amount of protein, certain enzymes, essential amino acids, fatty acids, fiber, and vitamins, while starches and other anti-nutrients are suppressed.
Due to the wet process, there is a chance of microbial developments. Thus, bacterial infections (salmonella, E. coli, etc.) can occur if eaten uncooked. There is no risk if we use sprouted grains and beans in bread baking or for making malt.
In bread sprouted grains are used for making “fitness” and “vita” loaves of bread, typically found in Germany, Switzerland, and Austria.
When you are baking bread, then we need to consider the enzyme activity of sprouted grains because too much of sprouted grains or flour from active enzyme grains would lead to a rapid decrease of necessary starches in the dough. The starch/ protein ratio will affect the properties of the bread, such as the volume and elasticity, and could lead to an unpleasant mushy inner consistency. So a rule of sum for adding sprouted grains: Do not exceed 20% of the total mass (includes water). Also, the grains prevent the dough from rising and thus these bread are denser than regular bread. The higher protein content makes the dough more sticky and with all the ingredients quite heavy. Thus it is best made in bread pans.
On the other hand if you want to improve the volume and thus fluffiness of regular bread you can add 2.5% of enzyme active sprouted rye flour.
The problem of enzyme activity can be avoided if you deactivate the sprouted grains with heat, which we will discuss later. During the heating process, enzymes convert starches to sugar (malting process) and result in sweeter grain, which can be milled to flour and used in conventional baking.
You need raw grains, seeds, or beans to sprout them. They cannot be peeled, dehulled, or processed in any way. Usually, you can find them in farmers’ markets. Keep them in a well-sealed container and put these in another sealed container. I put all my grains in individual plastic containers or sealed plastic bags and put them in a large Home Depot bucket with lid. Routinely I check on them because bugs can suddenly appear. Don’t worry this is normal because these grains are not sterile. They grew on fields and were harvested by machines. Every mill has to deal with this problem.
If you don’t want to sprout the grains and want to avoid any problems in the future, then before storage, freeze them for a few weeks before milling the flour. It will kill the eggs of bugs that are on these grains. I buy large quantities of flour from a local store, and although I never had any issues with it, I repack in portions that I keep inside a freezer for the same reason.
Now, if bugs infest the grains, then it depends on the extent of the infestation and on how much you can tolerate dealing with them. I grew up in the countryside and lived for a while on a farm. Here you climb apples and cherries trees and because they were never sprayed with any insecticides any freshly picked fruit can have some worms inside. (I was teasing my wife by telling her that there is not a single true vegan on this planet 😉. ) In stables are rodents, and even in the house, one has to catch mice. When I lived in the city and rented a cheap apartment, I had to deal with roaches and found that pretty gross. Of course, over time you learn to deal with it, get rid of these mischievous creatures, and live on. So if the flour not too badly infested and you caught it early, then you can sieve the bugs out, and either sprout (there are washing processes required) and malt the grains, and this removes and kills bugs plus all the eggs.
Sprouting
For the optimal sprouting, you require moisture, oxygen, and temperature. As grains during the process go through a chemical process, they will give up some heat. To control this, we will use a container system which we fill with approx. 15 cm (6 inches) of moist grains at 15 C (59 F) for 30 to 48 h. It depends on the grains. Typically, this is for rye about 30h while for wheat 36 h. Note: I have a devoted small refrigerator that is kept with a simple regulator at 15C. If you don’t have an additional small fridge or wine cooler, you need to keep the grains at room temperature. The standard refrigerator is too cold. If you have it outside, then you need to flush them with cold water every 15 to 30 min. Some industries use an automatic water irrigation system that rinses the grains and to cool down the heat of the germination process.
We are using three plastic storage containers. On two of them, you poke holes on the bottom. You can do this quickly by heating up a nail (you need t tongue to hold it, otherwise you burn your fingers). These two are our sieves to remove the excess of water when we rinse them. We will use only one of the two but from time to time we will transfer the grains to the other to circulate grains from the bottom to the top.
Also perforate a smaller container to use it as a lid.

- Step: Transfer the grains into the sieve container and wash grains thoroughly
- Step: Insert the sieve container into the other container and fill up with water and cover. Let it stand for 12 h at 15 C

3. Step: Remove the water and wash the grains in the sieve container, knock it a few times against the sink and tilt slightly to remove excess of water. Insert it back into the rinsed bucket and cover. Place in refrigerator at 15 h.
4. Step: Every couple of hours rinses with cold water and transfer all grains into the second container. You can do these easily by filling up the container with the sieve and washing it down into the second sieve container. Again make sure that excess of water is removed and put back in refrigerator at 15 C.
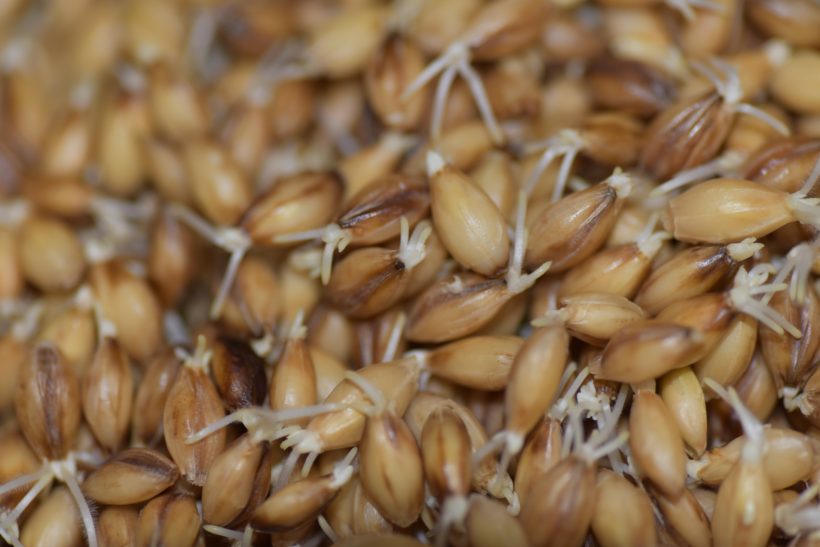
5. Step: After some time, you note sprouting. Some of them are more advanced than others, then keep going to repeat step 4 until it looks like in the photo below. Again wash all grains carefully at this stage and remove the excess of water. Transfer on a clean towel.

Storage
You can keep fresh sprouts for up to 2 days in a refrigerator at 4C at 39F. At this temperature, further sprouting is prevented.
You can also pack them in vacuum bags and freeze them at -20 C (-4 F) for a few weeks/ months.

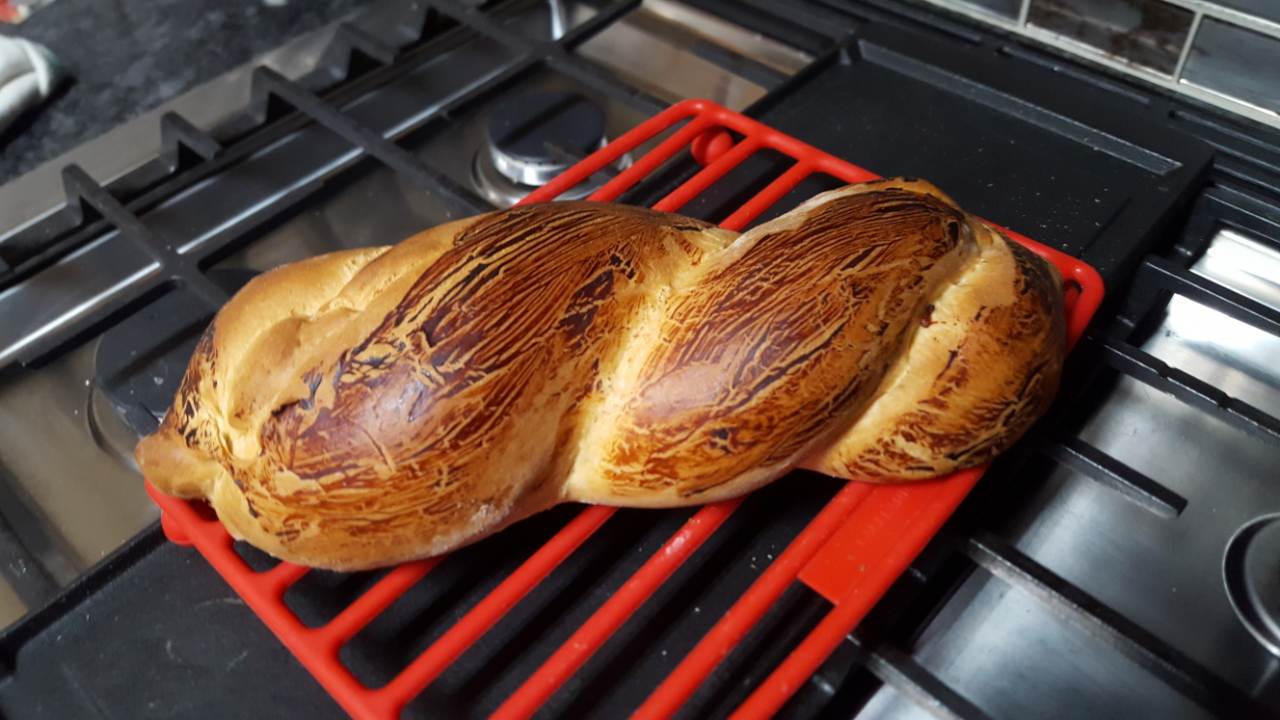
Please check our Fitness Bread


Perfectly indited subject matter, Really enjoyed studying.